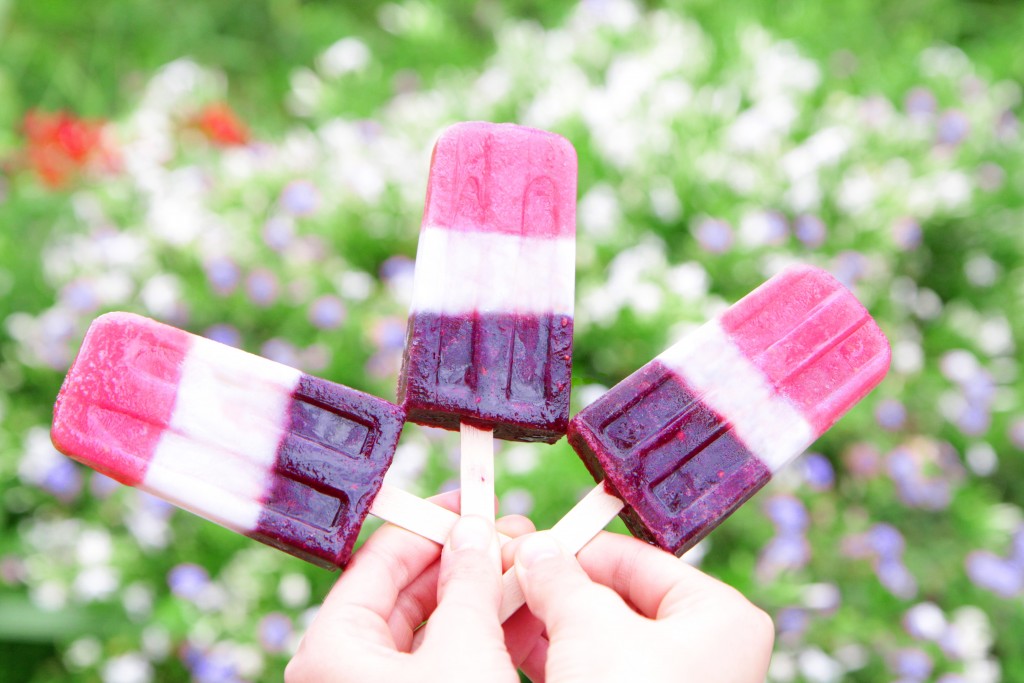
It is SO nice to have a healthy, cold treat in the freezer, because whenever I’m hot and craving something sweet, I always have them on hand! The instructions are long, but that does not mean the recipe is hard! I just made the directions detailed, that’s all. The actual working time to make these is quite short, but there is just a lot of time in between, for each layer to freeze, before adding the next. Because of this, I recommend making the popsicles the day before you plan on serving them, so they have enough time to set.
And, one last note before you make them: sometimes coconuts come with very little, to no meat. This is why I bought 4 coconuts. The coconuts with the softest bottoms are the softest, ripest on the inside. But, if you buy coconuts with really soft, squishy bottoms, the meat might be really thin and translucent, which is not as good for cooking with. Only one of my coconuts had good, thick meat, so that’s all I could use for this recipe. If your coconuts have more meat, you will have more coconut layer, therefore making more popsicles.

Red, White, and Blue Popsicles
- Author: Sadie R
- Yield: 14 1x
Description
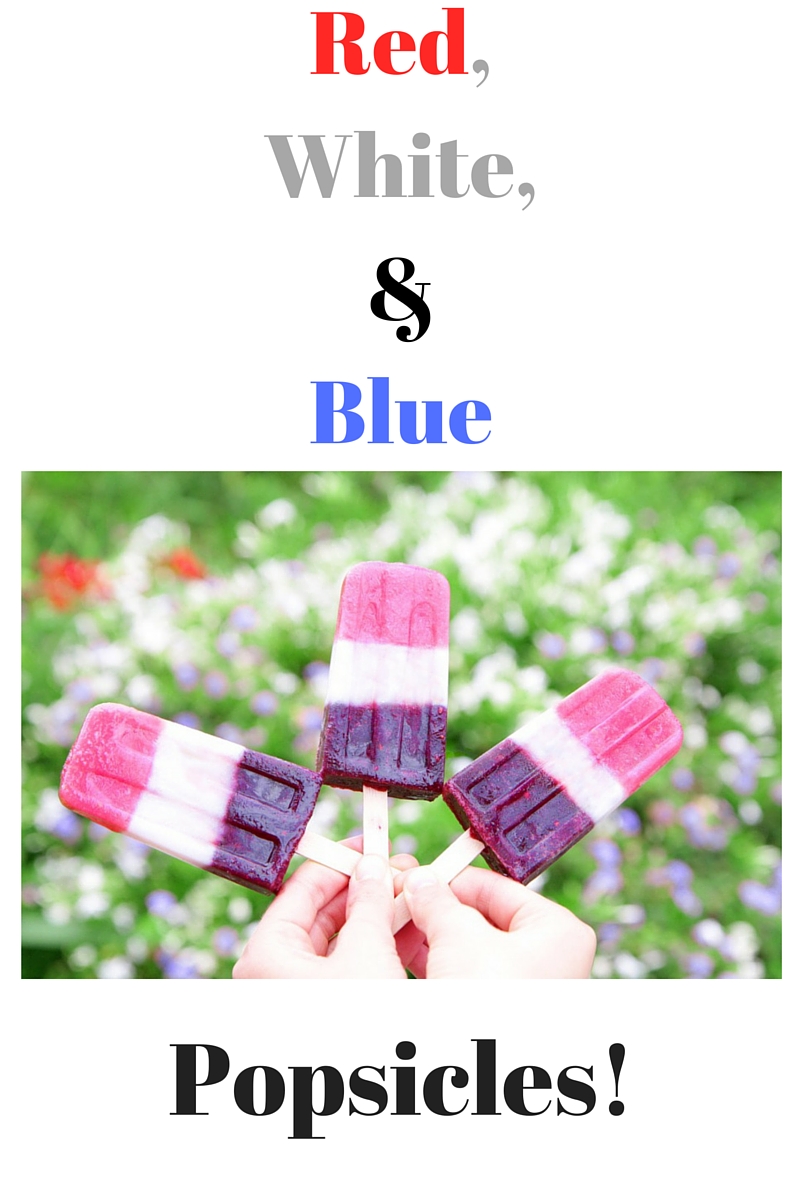
Popsicles that are completely naturally fruit-colored, to be red, white, and blue!
Ingredients
- The water of 4 fresh, young Thai coconuts, (about 4 cups) separated into 1 1/3 cups
- The meat of 1-4 fresh, young Thai coconuts (I used the meat of 1½ coconuts)
- 2 cups fresh raspberries
- 2 cups fresh blackberries
- Raw honey, to taste, optional
Instructions
- Make the white layer by placing the coconut meat and 1 1/3 cups coconut water in a large measuring cup or bowl. Using an immersion blender, blend until smooth. If you don’t have an immersion blender, you can use a blender or food processor instead. Pour into a container with a lid, and refrigerate for later.
- Make the red layer by placing the raspberries and 1 1/3 cups coconut water in the (cleaned) measuring cup. Blend until smooth, and add honey, if desired. Pour into a container and refrigerate.
- Make the blue layer by placing the blackberries and 1 1/3 cups coconut water in the (cleaned) measuring cup. Blend until smooth, and add honey, if desired. Pour into a container and refrigerate.
- Pour the raspberry mixture into each popsicle mold, filling each one-third of the way full. Place the lid on, but don’t put in any popsicle sticks, yet. Freeze for at least an hour, or until the raspberry layer is completely solid
- Now, take off the lid, and pour the coconut mixture into the mold, filling each one up another one-third of the way. Put the lid on, and place the sticks in, letting them stop when they hit the raspberry ice layer. Freeze for at least an hour or two.
- Take off the lid, and pour in the blackberry mixture, filling the molds all the way to the top. You don’t need to put the lid back on, here. Freeze for a few more hours.
- To remove the popsicles, run them under hot water until the ice on the side of the mold, begins to melt. Gently wiggle each stick until the popsicles pop out! Enjoy, and happy 4th of July!


