It is springtime and the bright, tart flavors of citrus are in full bloom!
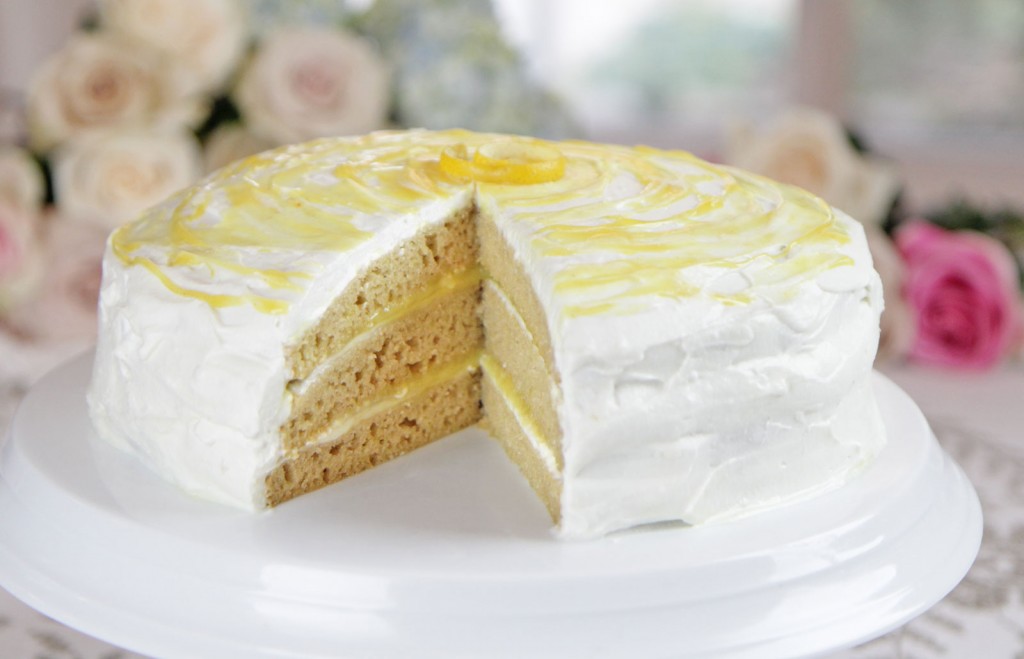
I made this cake for my 14th birthday, a few weeks ago, and it was a huge hit! Everyone was so surprised by the delicious, sweet lemon flavor, and the moist cake, along with the fluffy filling. The passion fruit curd in between the layers was a great combination with the luscious lemon.
My dad declared, “It was more of a movie than a sitcom.” That says it all.
Print
Luscious Lemon Layer Cake
Ingredients
Scale
- 2 ¼ cup blanched almond flour
- ¾ cup arrowroot flour, plus more for dusting
- ¼ cup + 2 Tbs coconut flour
- 1 ½ tsp baking soda
- ¼ tsp salt
- 6 large eggs
- 1 cup maple syrup
- ¼ cup + 2 Tbs coconut oil or butter, melted, plus more for greasing
- ¼ cup + 2 Tbs almond milk
- 1 tsp vanilla extract
- 1 Tbs tightly packed fresh lemon zest (about the zest of 1 large lemon)
- 2 tsp pure lemon extract
Frosting
- The cream of 3 cans full-fat coconut milk**
- 1 Tbs maple syrup
- 2 tsp vanilla extract
- 1½ – 2 cups lemon or passion fruit curd
Instructions
- Preheat your oven to 350° F and grease a 9” round spring form pan with some coconut oil or butter. Dust the bottom and sides with some arrowroot flour.
- In a large bowl, whisk together the flours, baking soda, and salt.
- In a separate large bowl, whisk together the wet ingredients.
- Stir the wet into the dry.
- Let the batter sit for 10 minutes so the coconut flour can absorb the liquid, then give it a gentle stir.
- Pour approximately 1 and 1/3 cups of the batter into your first greased cake pan, and bake for 16-18 minutes.
- Let the cake cool fully before handling. Gently remove it from the pan.
- Now, pour the next 1 and 1/3 cups of batter into your (newly) greased cake pan, and bake for 16-18 minutes. Let it cool down, then remove the cake.
- Now, pour your last 1 and 1/3 cup cake batter into your newly-greased cake pan, and bake for 16-18 minutes. Let it cool down, then remove it from the pan. Let all three cakes fully cool while you make the frosting.
- Add to a stand mixer: the coconut cream, maple syrup, and vanilla extract. Whip on high speed until thick and fluffy. Stiff peaks should form.
- Place one cake on a cake platter. Spread a little bit of curd and a little whipped cream frosting on top. Now place another layer of cake on top of that. Repeat this process until all three layers are stacked, with curd and cream in between.
- Spread a layer of frosting on top of the whole cake, and all around the sides. Spread the rest of the curd on top. Serve, and enjoy!
- Store leftover cake, covered, in the fridge.
Notes
- ** To extract the cream from the coconut milk, place your 3 cans in the fridge overnight. Then, open them and scoop off the hard, white cream from the top. Discard the clear liquid at the bottom (or use it for smoothies!).
Nutrition
- Serving Size: 12